Default Node Context Menus |
 Where to find it:

![]() NodeGraph / Select Node / CTRL+SPACE
NodeGraph / Select Node / CTRL+SPACE
Shortcut (Nodegraph Only): CTRL+SPACE
|
|
On Windows, Node Context menus are activated by pressing & holding CTRL+SPACE. On Linux they are brought up by tapping CTRL+SPACE |
Extension Pack by default registers Node Context Menus for a number of node types
|
|
Bake Points & Multi Channel Bake Points: •"Bake Active" will bake the currently selected Bake Point •"Delete Bake" will delete the baked data of the currently selected node •"Smart Bake & Update" runs on your entire graph and its subgraphs (e.g. Materials). It will check which nodes are unbaked or out of date and bake them in the correct order •The "Bake all Geo Versions" checkbox, if on, will ensure that any of the options chosen (e.g. bake active or smart bake & update) are performed on all loaded Geometry versions. If off, Mari's default behavior is used which is to bake only udims for the currently visible geometry version |
|
|
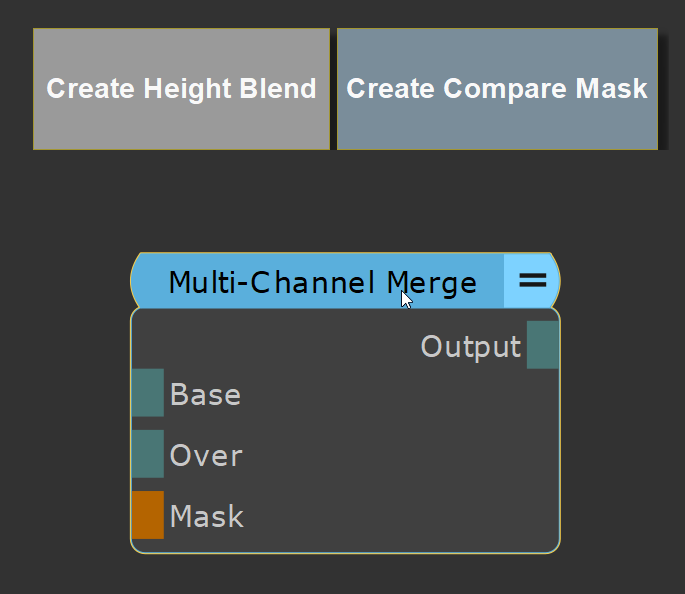
Multi Channel Merge Nodes: •"Create Height Blend" will create a Height Blending Setup for the attached Multi Channel Nodes (e.g. Materials) •"Create Compare Mask" will create a AB Compare Mask Setup for the attached Multi Channel Nodes (e.g. Materials) |
|
|
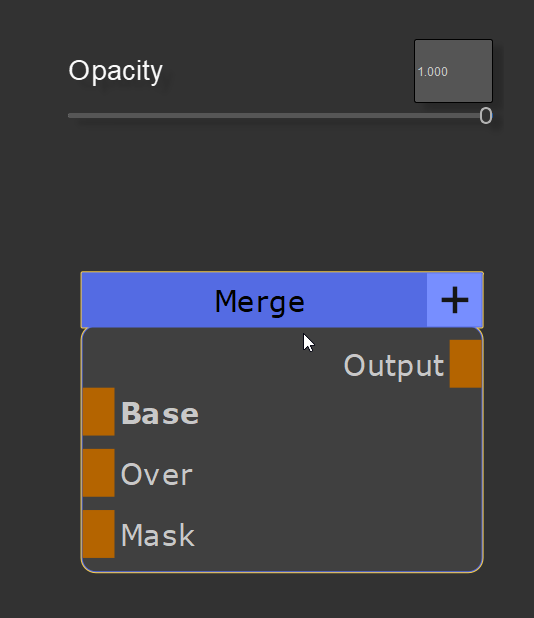
Merge Nodes: •"Opacity" allows you to modify the Blend Opacity of the Node |
|
|
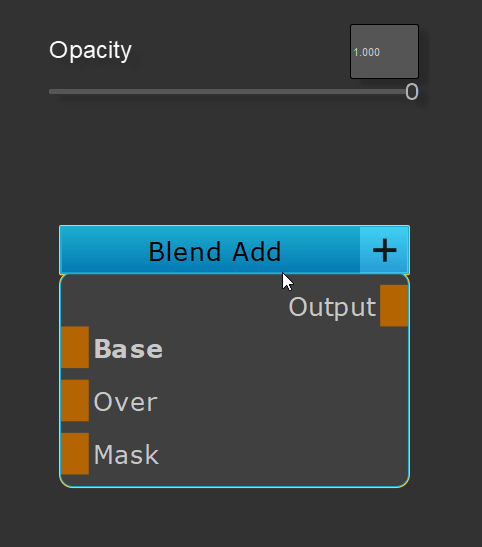
Blend Mode Nodes: •"Opacity" allows you to modify the Blend Opacity of any Extension Pack Blend Mode Node |
|
|
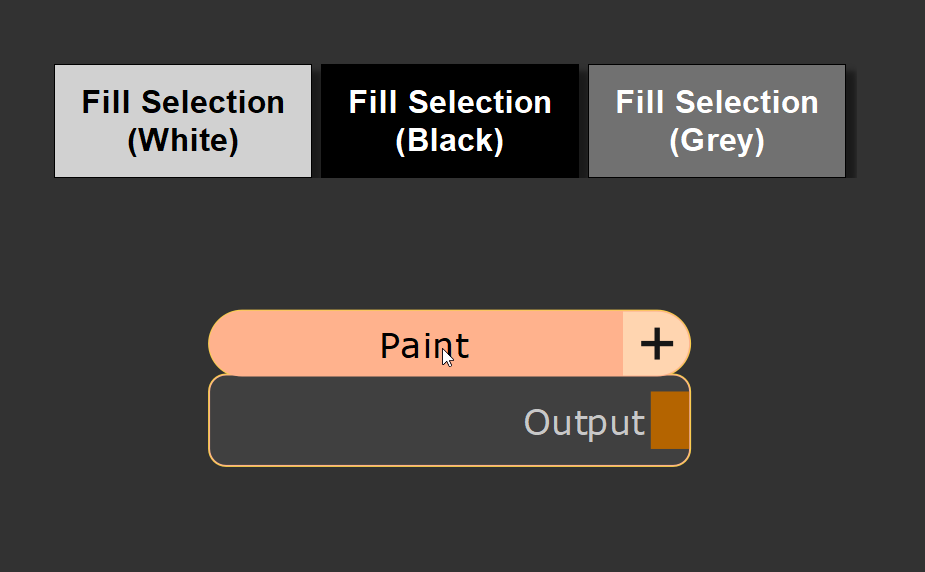
Paint Nodes: •"Fill Selection" allows you to fill the current patch, face or object selection with black, white or grey |
|
|
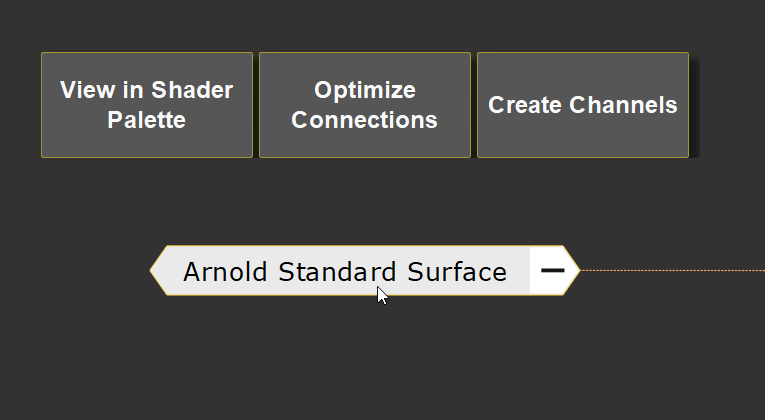
Shaders: •"View in Shader Palette" will make the shader the current one in the shader palette, bring up the palette and show you the shader properties •"Optimize Connections" will run a Multi Channel Node Optimization, based on connected channels to speed up viewport FPS by culling connetions in your nodegraph that are not in use •"Create Channels" will bring up the "Create Channels from Node" dialog allowing you to quickly create channels for the shaders input ports |
|
|
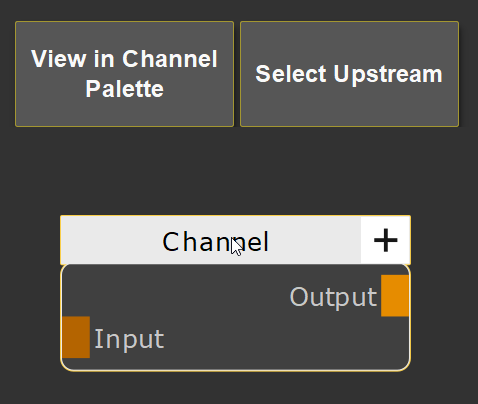
Channel Nodes: •"View in Channel Palette" will make the channel the current one in the channel palette, bring up the palette and show you the channel properties •"Select Upstream" will select any upstream (left) nodes that feed into the channel node |
|
|
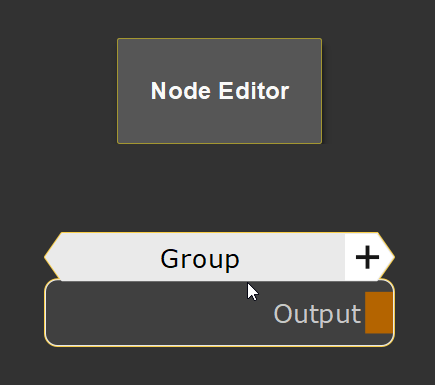
Graph Group Nodes: •"Node Editor" will open Extension Pack's Node Editor, which allows you to edit and organize attributes that have been exposed from the inside of the group's subgraph onto the group node's node properties |
|
|
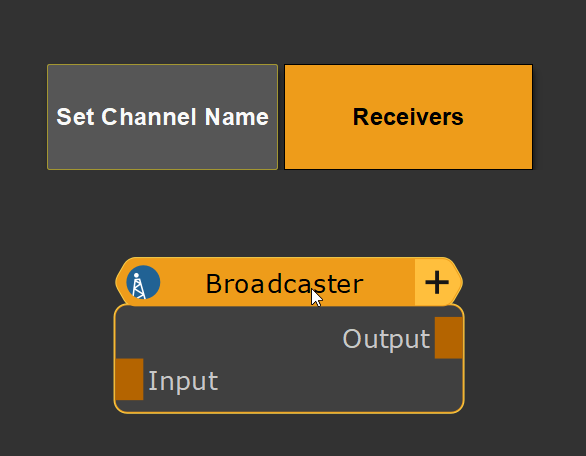
Broadcast Nodes: •"Set Channel Name" allows you to define the Broadcast Channel Name the Node transmits on •"Receivers" jumps to the connected receiver or shows a dialog of all connected receivers |
|
|
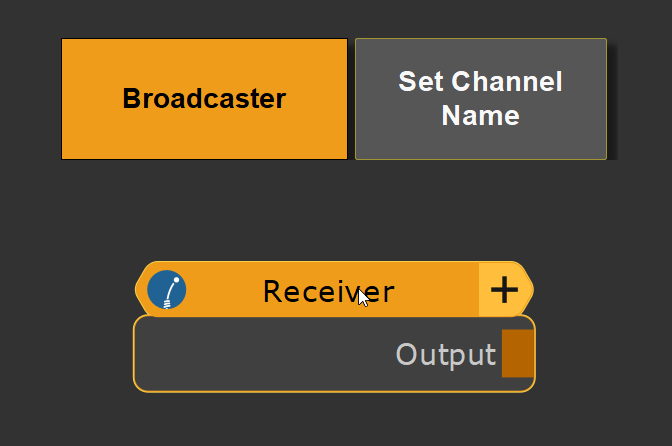
Receiver Nodes: •"Broadcaster" jumps to the broadcaster that the receiver is connected to •"Set Channel Name" allows you to connect the node to a Broadcast Channel Name |
|
|
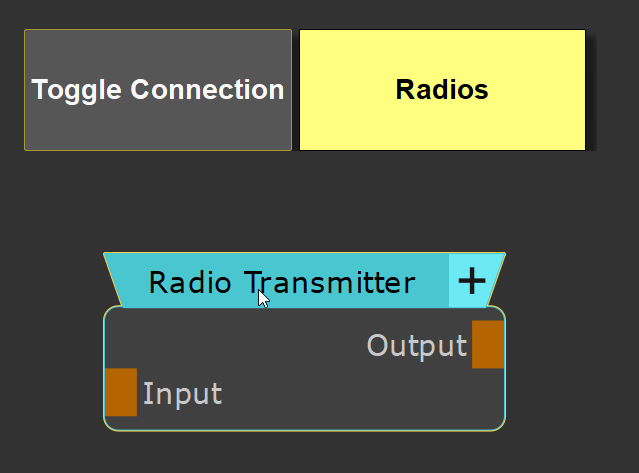
Radio Transmitter Nodes: •"Toggle Connection" hides or shows the Output Connection going to a radio nodes •"Radios" jumps to the connected Radio Nodes or shows a dialog of all connected radios |
|
|
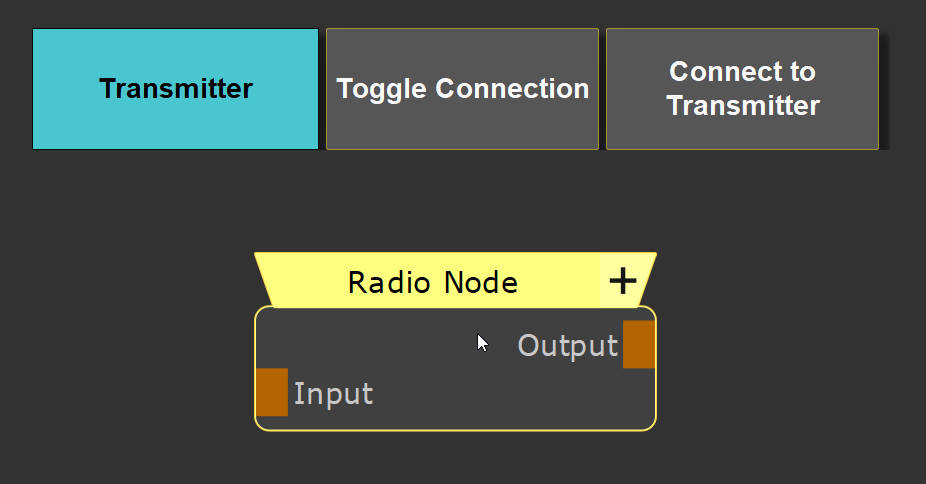
Radio Nodes: •"Transmitter" jumps to the Radio Transmitter that the Radio Node is connected to •"Toggle Connection" hides or shows the Input Connection going to a radio transmitter node •"Connect to Transmitter" brings up a dialog allowing you to connect the radio node to a transmitter in your graph |
|
|
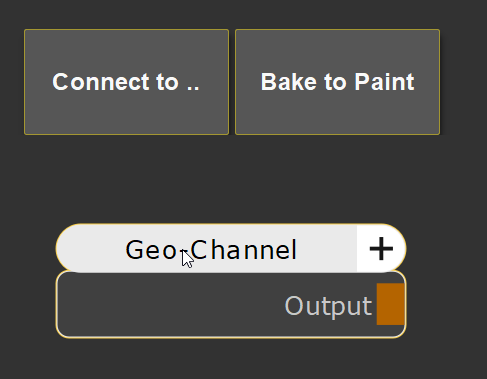
Geo Channel Nodes: •"Connect to .." allows you to connect the node to a geo channel •"Bake to Paint" bakes the connected geo channel into a paint node |
|
|
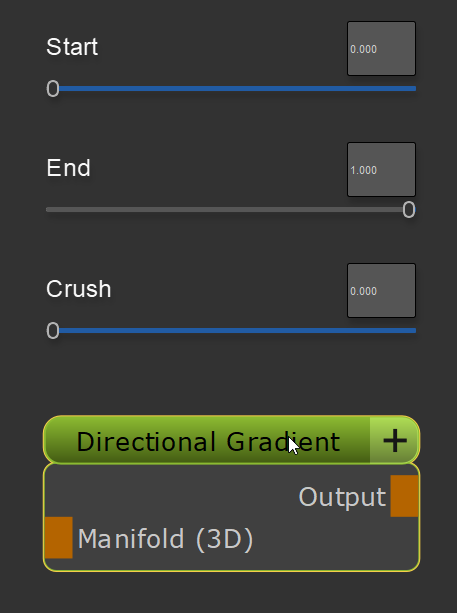
Directional Gradient Node: •"Start / End" allows you to adjust the start and end position (white and black point) of the Gradient •"Crush" will increase the contrast of the gradient |
|
|
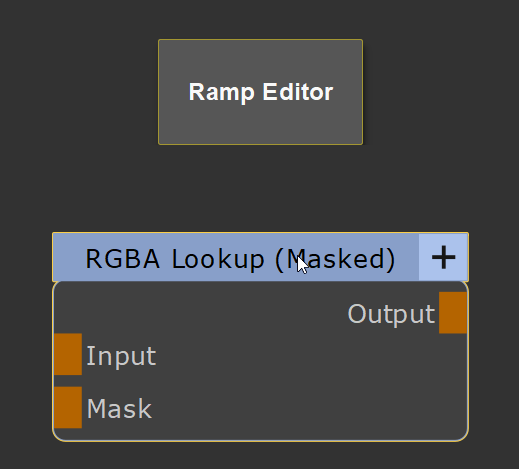
Curve Nodes: (Brightness Lookup, RGBA Lookup, Color Lookup etc.) •"Ramp Editor" opens the Extension Pack Ramp Editor for the Node |
|
|
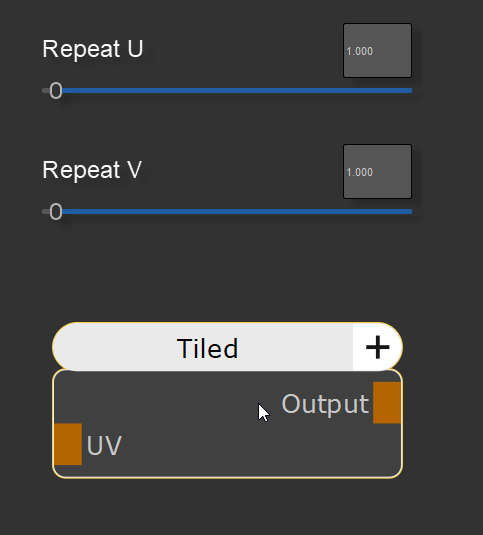
Tiled Nodes: •"Repeat U/V" allows you to adjust the U and V Attributes of the node |
|
|
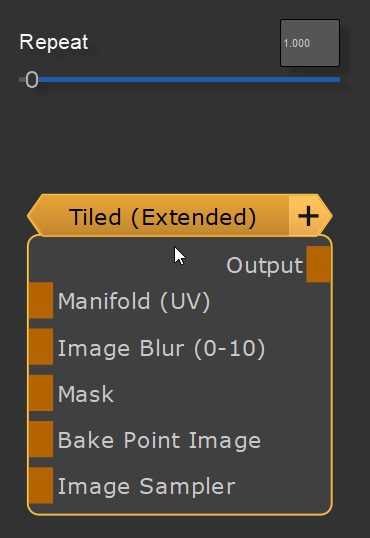
Tiled Extended Nodes: •"Repeat" allows you to adjust the U and V Attributes of the node |
|
|
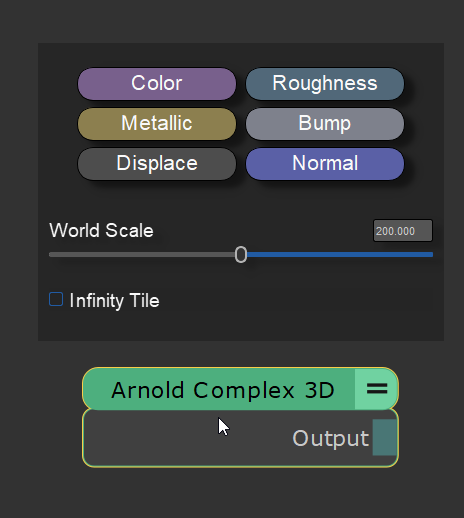
Triplanar Projection Nodes: •"World Scale" allows you to adjust the size of the Triplanar Projection |
|
|
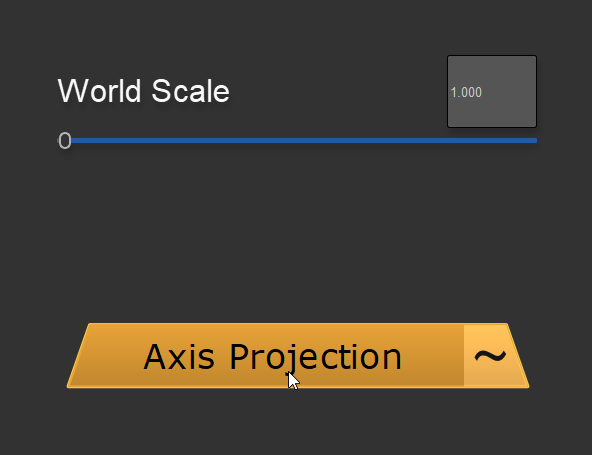
Axis Projection Nodes: •"World Scale" allows you to adjust the size of the Triplanar Projection |
|
|
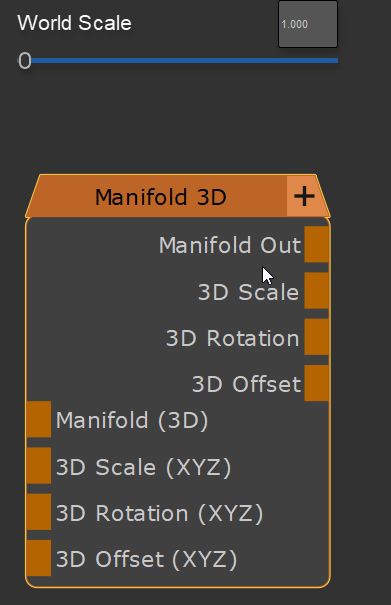
Manifold 3D Nodes: •"World Scale" allows you to adjust the size of the 3D Position values the Node outputs |
|
|
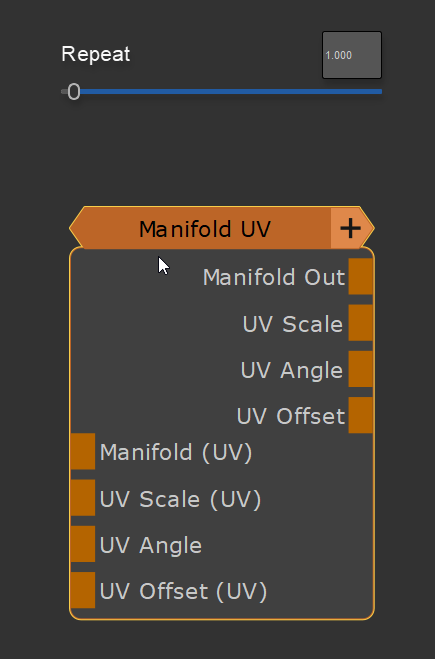
Manifold UV Nodes: •"Repeat" allows you to adjust the U and V Attributes of the node |
|
|
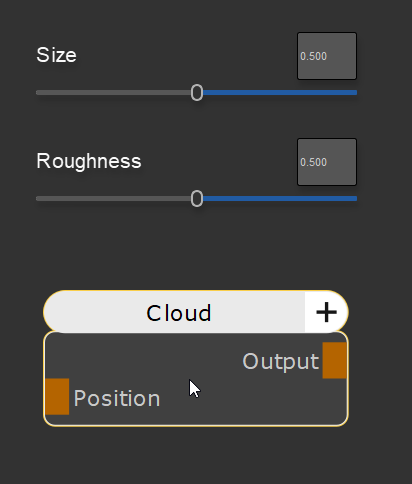
Cloud & Cloud (Extended) Nodes: •"Size" adjusts the Frequency of the Cloud Noise •"Roughness" adjusts the Contrast of the Cloud Noise |
|
|
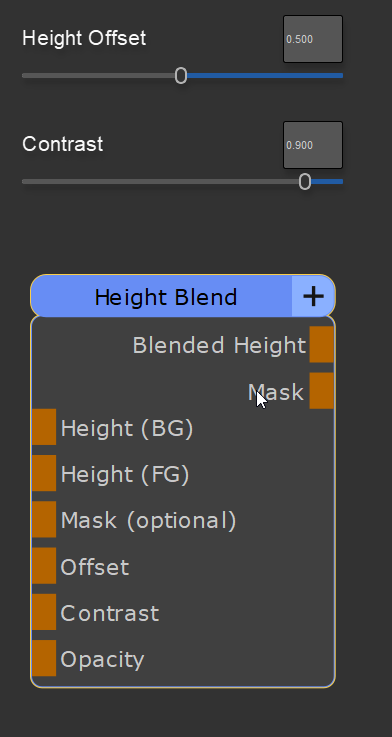
Height Blend Nodes: •"Height Offset" controls the distance between the Foreground and Background Inputs, pushing the Background "through" the foreground •"Contrast" adjusts the Contrast of the Mix Max that is generated (less contrast, means a softer blend |
|
|
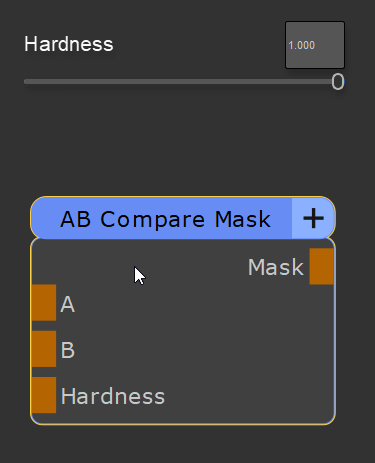
AB Compare Mask Nodes: •"Hardness" adjusts the Contrast of the Mix Max that is generated (less contrast, means a softer blend |
|
|
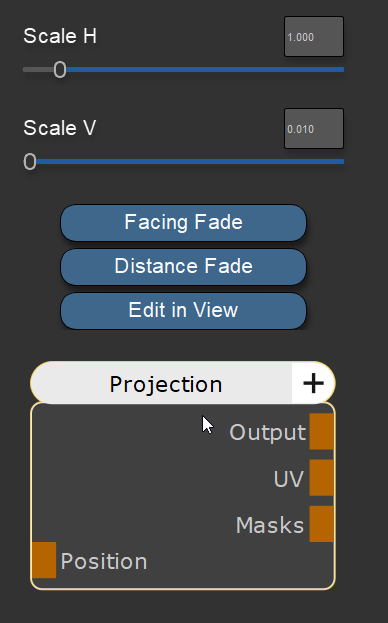
Projection Nodes: •"Scale H + V" sets the aspect ratio of the projection •"Facing Fade" opens a submenu allowing you to activate and adjust the behavior of the projection at 90 degree angles to the projection direction •"Facing Fade" opens a submenu allowing you to adjust the the depth the projection travels through the target object •"Edit in View" activates the "Transform Selected Object" Tool allowing you to position the projection directly in the viewport |
|
|
Extension Pack Material Preset Nodes: •All Extension pack Material presets found in the shelf have their most common properties exposed in the context menus |
|
|
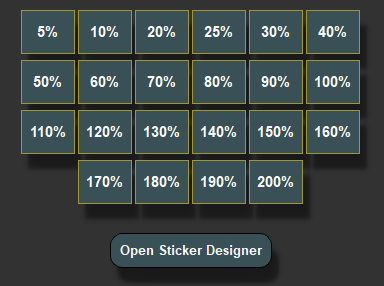
Nodegraph Stickers: •Allows you to set the size of the Nodegraph Sticker or lift it into the Sticker Designer |
|
|
Color Nodes: •Open the Color Picker to edit the Nodes Color Attribute |
|
|
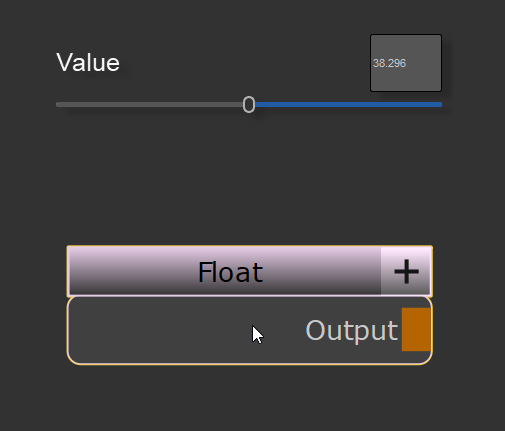
Float Nodes: •Adjust the floating value of the node |


|
|
For fine grain control over Sliders, right mouse click them to bring up the increment ladder. Drag away from an increment to adjust sliders with finer or coarser steps |