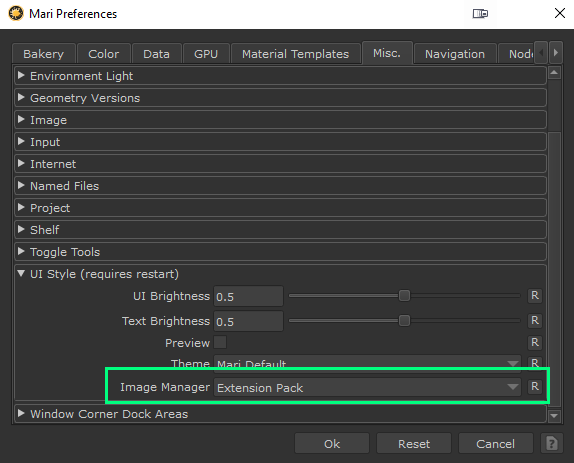
Mari Extension Pack ships with its own Image Manager Implementation that sits on top of Mari's default Image Manager. Currently this is set as the default
Extension Pack's Image Manager adds the following features to Mari's default Image Manager
•Image Manager Folders .. create arbitrary folder structures to organize Images in
•Improved Image Manager Groups .. visually distinct Image Manager groups
•Image Group Thumbnails and Color coding .. apply thumbnails to image groups, color code the contents
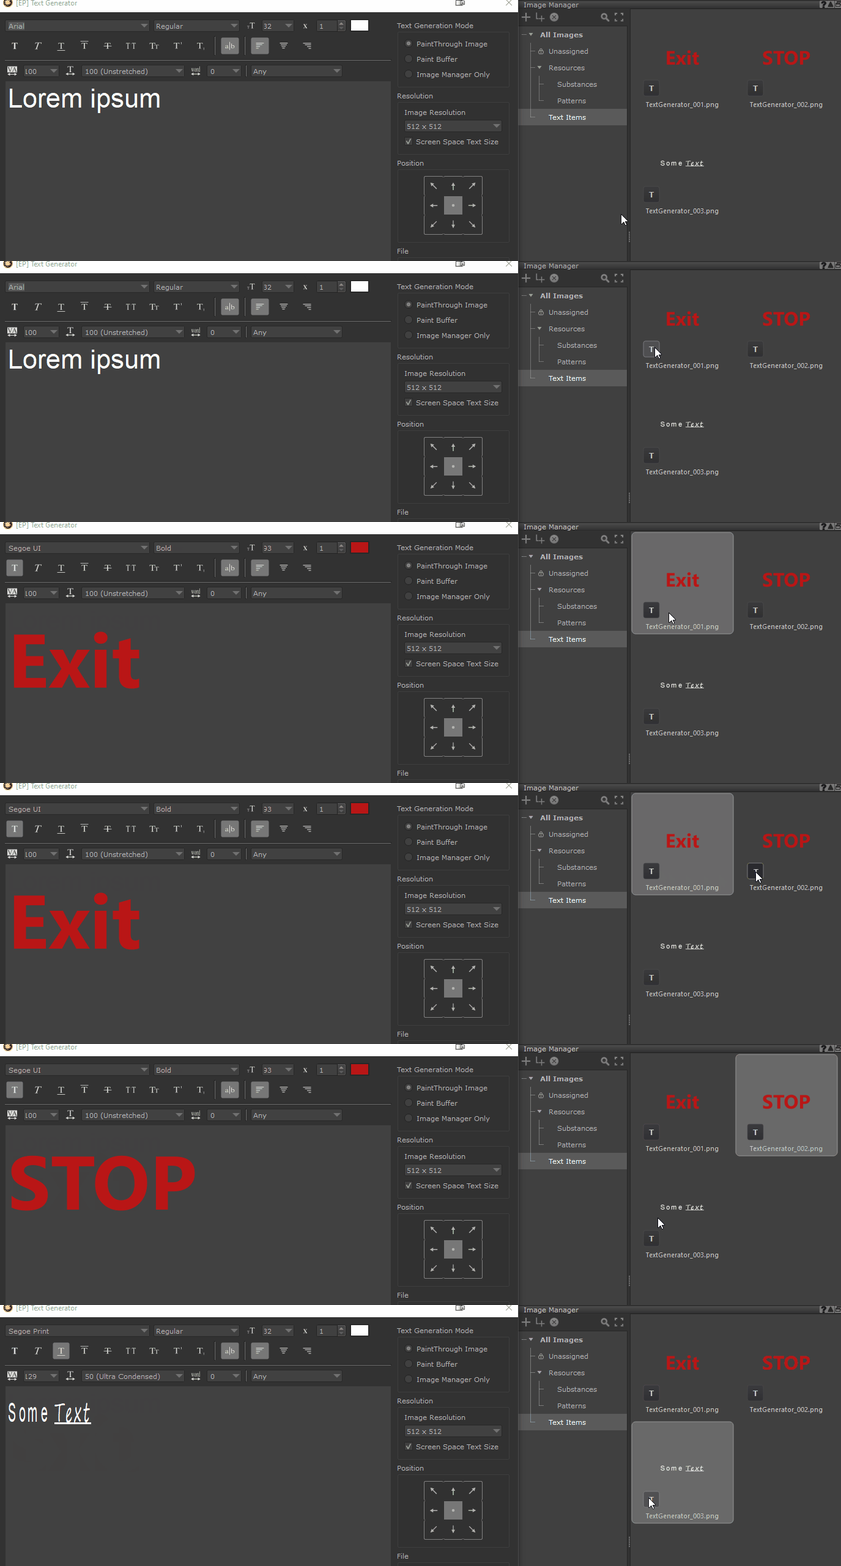
•Direct editing of elements .. directly edit Substance Materials or Text Items from the Image Manager
•Filtering & Search .. search for Images across all Folders
Image Folders
Image Folders let you sort the images of a project into a folder within the Image Manager. Folders only change how images are organised in the Image Manager visually.
Image Folders are part of the Extension Pack Image Manager. If you switch back to Mari's own Image Manager in the Preferences (see Reverting to Mari's own Image Manager), the sidebar goes away
Folders can be managed via the Folder Sidebar. You can create arbitrarily nested Folder structures
Two Folders are always auto generated:
•All Images Shows every image in the project, no matter which folder it is in. With All Images selected the Image Manager looks the same as it would in standard Mari.
•Unassigned Contains every image that hasn't been put into a folder yet. The folder can't be renamed or deleted
A folder only shows the images directly inside it. Images in its child folders are not included. This is different from Mari's own "Shelf" Palette
Folders can be created and deleted from the toolbar above the Folder Hierarchy ..
.. or by right mouse clicking
•New Folder .. creates a lv1 Folder
•New Child Folder ... creates a Folder inside another Folder
•Rename Folder
•Delete Folder .. deletes the current folder. Deleting a folder will delete any subfolders as well. The Images are not deleted. They move to "Unassigned"
•Move selected Images here ... moves any selected image into the current folder (you can also drag and drop of course)
You can create nested Folder structures directly inside the "New Folder" dialog by entering a path structure separated by "/"
There are two ways to put images into a folder:
•Drag and Drop Select images in the grid and drag them onto a folder in the tree.
•Right Click Menu
Select images in the grid, right click a folder in the tree and choose Move X Selected Image(s) Here.
Dropping images onto "All Images" puts them into "Unassigned". Image Groups always stay together. A group is never split across two folders.
○Dragging a group onto a folder moves the whole group
○moving a single image that is part of a group, moves the whole group
○a new image that gets added to a group which already sits in a folder, goes into that folder as well
Images you load while a folder is selected go straight into that folder.
•With "All Images" selected, new images go into Unassigned.
•Images that get added to an Image Group that already sits in a folder go into the group's folder instead, so the group stays together.
Some Extension Pack tools put their images into auto-created folders:
Images imported by the Projection Wizard will be placed under /Projections
Imported Materials
Images that come in with imported Mari Materials will be placed under /Resources/Materials
Folders can be dragged around in the tree:
•Onto another folder
The folder becomes a child folder of it. Its images and child folders go along with it.
•Between two folders Changes the order. A line shows where the folder will land.
You can use the search to filter images
The grid shows every image where the name contains what you typed.
The search runs across all folders, not just the selected one.
•Upper and lower case don't matter.
•Separate several words with a comma. An image is shown if its name contains any of them. E.g. "rock, moss" shows every image with rock or moss in its name
•Image Groups holding a match are opened, so you can see the matching images inside them. They are closed again when the search ends.
A active filtering is indicated by the orange search icon
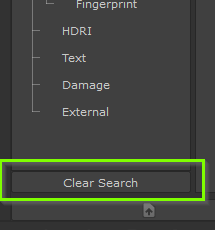
Open the search and clear it or click "Clear Search" at the bottom of the sidebar to reset it
Click Thumbnail Size in the toolbar and drag the slider to change the size of the thumbnails in the image grid
"Unassigned" is always there and always sits at the top of the list. It cannot be moved, deleted or renamed and can't hold child folders
Images end up in Unassigned when
•they have never been put into a folder. In a project that was set up before Image Folders existed, that's all of them.
•they were loaded while All Images was selected
•the folder they were in got deleted
You can drop images onto Unassigned like onto any other folder, to take them out of the folder they are in.
Image Groups
Image Groups are a native Mari feature but Extension pack extends them in both style and functionality.
Compared to Mari's native Image Manager, Image Groups with Extension pack provide clearer visual separation
Mari Default Theme vs Extension Pack Theme
You can set a custom Group Thumbnail as well as modify the Group Color Code via the Right Mouse Click Menu
To set any group Image as a Thumbnail, use Right Mouse Click / Ingest / Set as Group Thumbnail Action
In the Image Group Right Mouse Click context menu you can find many of Extension pack "Single Image Selection" Functions (see Image Manager parent topic for an overview) as batch functions. For example using "Ingest / into Node" will ingest ALL images of the Image Group in one go
While regular Image Groups have a "G" Icon in the corner, to mark them as a Group ..
.. some groups and images will display a button instead
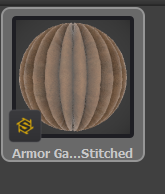
Substances will display a Substance Logo. Clicking it will open the Substance in the Substance Palette
Text Items will display a Text Logo. Click the "T" Button to open the Text in the Text Editor and edit it
Extension Pack adds full drag and drop support for Image Groups
•With a Multi Channel Paint Node selected, drag and drop a image group into the Viewport to activate it for Multi Channel Painting (Material Painting)
•Image Groups can also be dragged from the Image Manager to the Nodegraph to directly trigger the "Ingest into Node / Layer" Dialog
Reverting to Mari's own Image Manager
To change the Image Manager skinning, change it via the Mari Preferences / Misc Tab / UI Style section

 Where to find it:
 Image Manager Palette