|
Sticker Library |
 Where to find it:

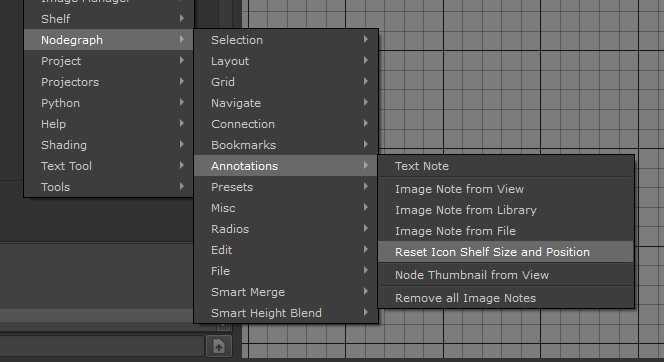
![]() NodeGraph / Right Mouse Click / Annotations /
NodeGraph / Right Mouse Click / Annotations /
Main Window / Extension Pack / Nodegraph / Annotations /
Shortcuts (Nodegraph Only): ALT + Scrolllock
The Icon Library Shelf allows you to choose from one of Extension Pack's Standard Libraries of Icons or add your own.
New Shelf Tabs can be added globally and shared among team members.
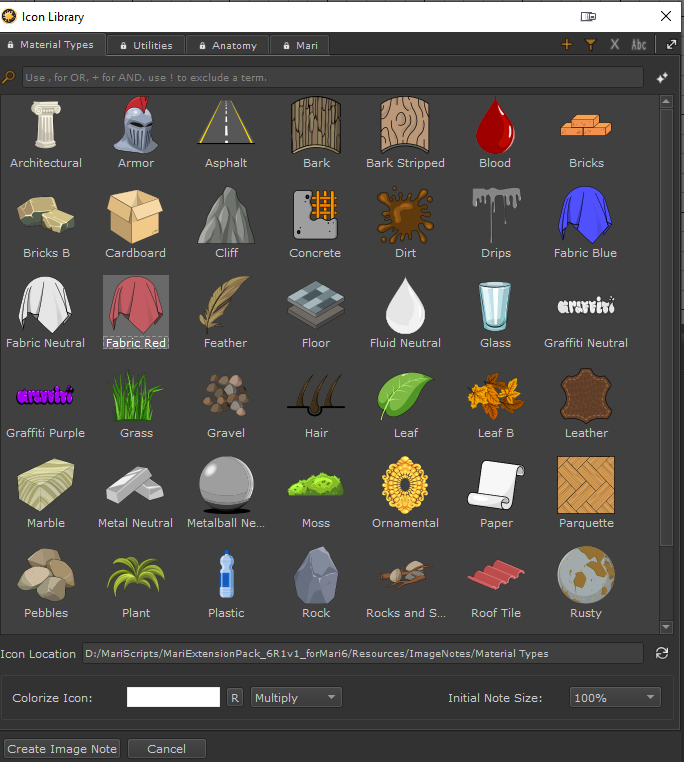

Icons can be colorized with a color and a blend mode to make it more representative of your actual material.
Press the "R" Button to reset it to the default white color.
The initial Node Size can be defined relative to the original icon size, but can be changed at any time later in the
Node Properties
In addition you can use the CTRL+SPACE Node Context Menu to adjust its size
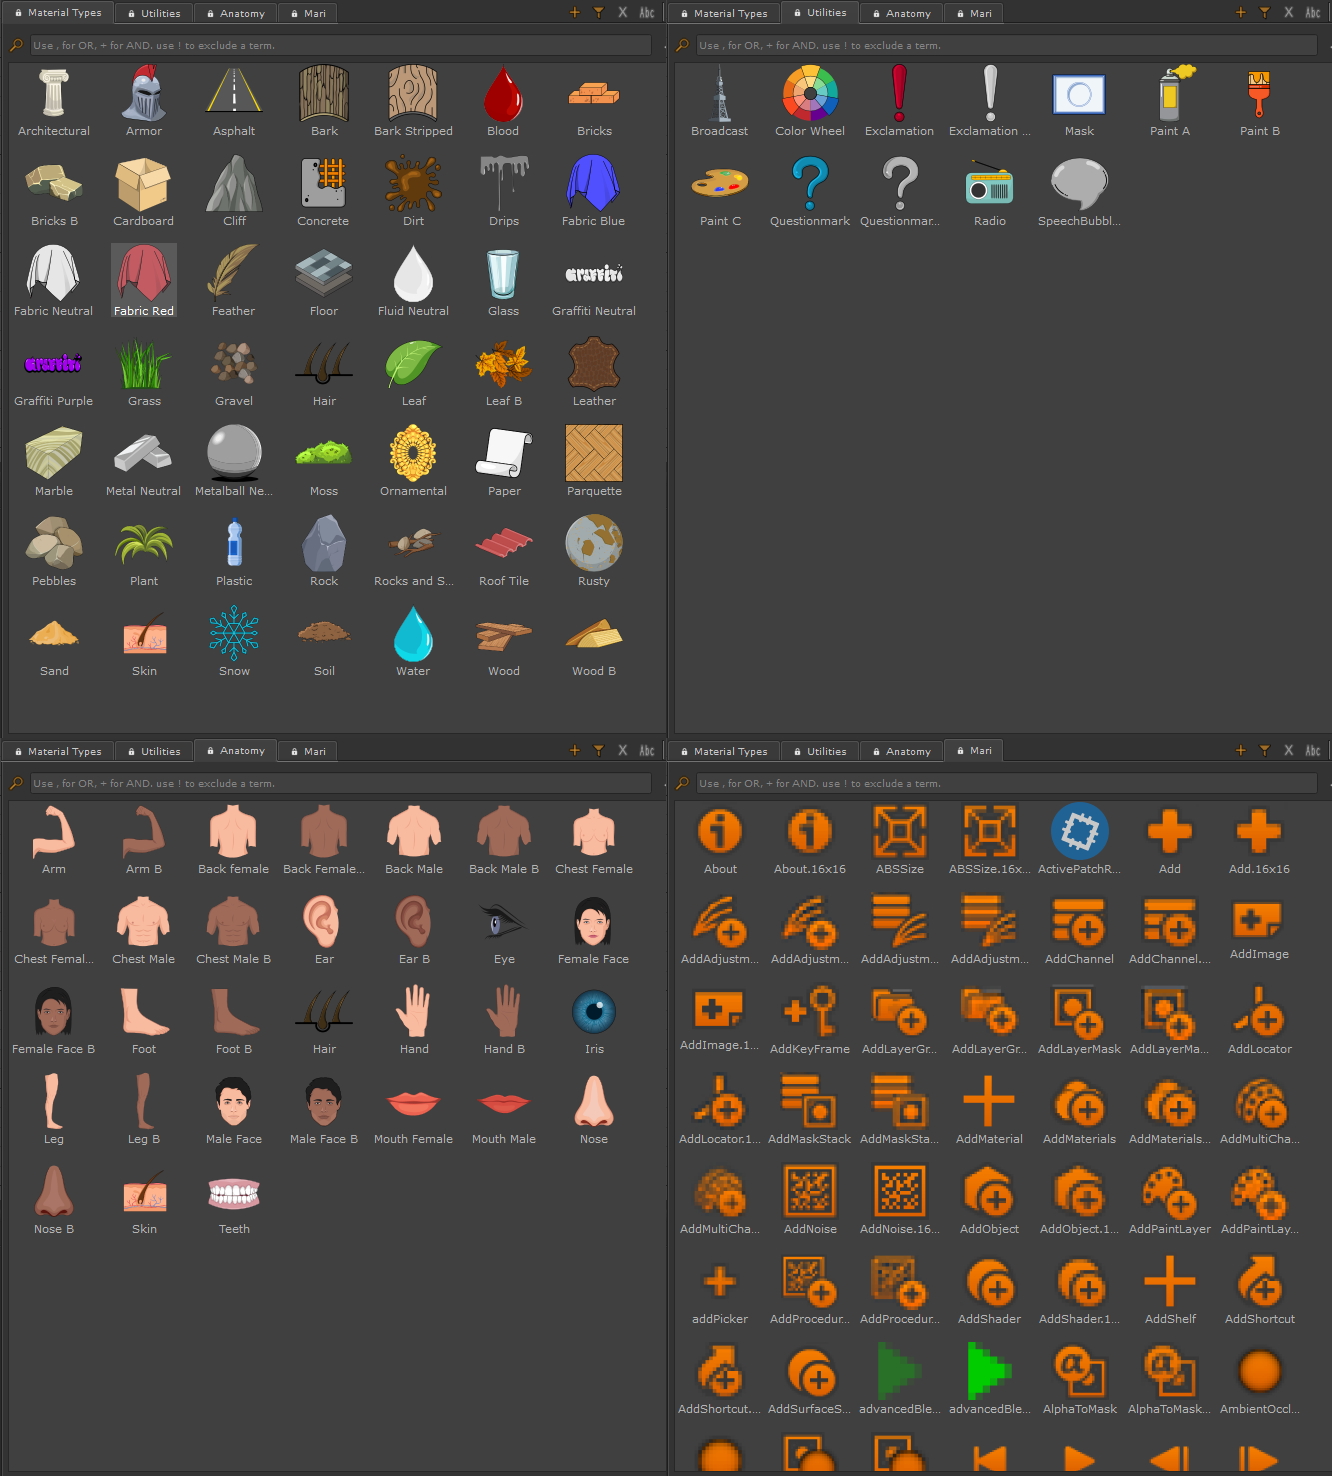
Tabs are the visual representations of Folders on your hard disc.You can add as many tabs as you wish to organize your icons.
By default the Icon Library has several Tabs containing pre-made icons for you to choose from.
You can add an icon to the nodegraph by double clicking on it or closing the dialog via the button at the bottom
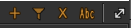
Buttons in the upper right corner of the Window interact with the Tabs - adding, removing, renaming, thumbnail size
•Create a new Tab

Allows you to add a new Tab to the Icon Shelf
A dialog will appear asking you to specify a Tab Name and a location on disc to load images from
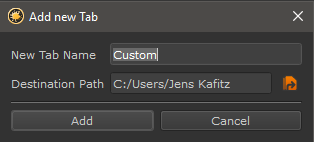
oTab Names need to be unique
oThe Destination Path can be a path from an existing tab in which case you get a duplicate
oThe Destination Path can be loaded by multiple people, allowing you to have a shared folder with a common icon library
oSupported Image formats to load are
1.BMP,
2.GIF
3.JPG, JPEG
4.PNG
5.BPM
6.PGM
7.TIF
8.TGA
9.SVG
10.PPM
11.XBM
12.XPM
|
|
Tabs can be added for all members of team globally using an Environment Variable |
•Create new Tab from Filter

Allows you to add a new Tab from the currently active Tab Filter.
A new dialog will appear asking to specify a Tab Name.
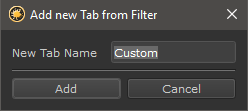
oTab Names need to be unique
•Delete current Tab

Removes the current Tab. Only the Tab is removed, no actual content is deleted
•Rename current Tab

Renames the current Tab
•Icon Size

Determines the Icon Thumbnail in the Icon Shelf Dialog
|
Tiny: |
35x35 px |
|
Small: |
58x58 px |
|
Medium: |
90x90 px |
|
Big: |
125x125 px |
|
Large: |
200x200 px |
|
Huge: |
400x400 px |
![]()
The Filter Bar allows to filter the current tab
•Clear Filter
![]()
Removes the Filtering from the Filtering Field
•Filter Field
Filter the current Tab. Filtering is done by:
oFile Name
oAliases
Filtering Operators are
▪Comma (,)____________
Separate multiple search terms or search term operators via a comma. If any of the terms is found the icon is displayed
e.g.: architectural, blood will display any icon that has 'architectureal' or 'blood' in its name or aliases
🞙Plus (+)_____________
The Plus (+) operator stipulates a combination of terms that are required to be a filter match
e.g.: architectural+gothic will display any icon that has both architectural and gothic in its name or aliases
🞙Exclamation Mark (!)_____________
The Exclamation Mark (!) operator excludes a search term
e.g.:
▪Search String 'architectural ' will give you three icons as result
▪Search String 'architectural+!marble ' will only give you two icons as result, since the Term 'marble' is marked to be excluded.
You can combine operators e.g. Scratches+2d+!Vertical,cracks+3d will display any icon that has
o 'Scratches' and '2d' in its name or tags but only if it doesn't contain 'Vertical'
o 'cracks' and '3d' in its name or aliases
|
|
You can easily create a new tab from the result of the filtering using the Create new Tab from Filter Button |
![]()
The Icon Location displays
othe current Tab's Data Location on Disc
oallows the reloading of the current Tab 
|
Additional Image Library Options |
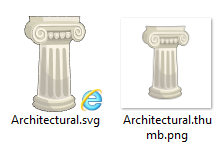
A icon can have a custom thumbnail that is displayed in the Tab.
If the Icon Browser discovers two files with the same file name but a .thumb. in its name, it will
use that file for displaying the icon in the Library, while using the second file for the actual Image Note.
This can be handy if you have non-square icons that would disturb the layout in your tab.
It is possible to define aliases for icons.
Aliases are displayed in the tooltip and are also evaluated when filtering a tab.
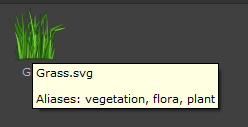
To add Aliases to a folder with Icons, we need to define a 'Aliases.json' file which can be done with any texteditor such as notepad
A Json file Alias File might look like this
{
"architectural" : ["building","greek","roman","urban","city","historic"],
"armor" : ["armour","greek","roman","steel","character"]
}
Its content is enclosed in two curly brackets {}.
Each line then has the identical format
"FILENAME_LOWERCASE" : ["ALIAS A",ALIAS B","ALIAS C"]
Each Text is lowercase and enclosed in " ".
The list of Aliases is all enclosed in square brackets [ ].
"armor" : ["armour","greek","roman","steel","character"]
In the above case the file armor.svg would receive the aliases armour, greek, roman, steel and character.
The Size and Position of the Shelf Window is saved between sessions. If you ever need to reset its size and position to the default
go to
1.Extension Pack Menu in Mari Main Window
2.Choose Nodegraph / Annotations / Reset Icon Shelf Size and Position
While adding Tabs manually is easy enough to do, maybe you want to set up a shared icon shelf for all your team members.
The easiest way to do this is by setting a global environment variable that will automatically add a Tab to all your team's shelves.
The Environment Variable to set is called MARI_EP_ICONSHELF_FOLDER and supports multiple paths separated with a semi-colon
Example
MARI_EP_ICONSHELF_FOLDER = \server\library\materialIcons;\server\ourProject\projectIcons
will create two Tabs:
oa tab called 'materialIcons' pointing to \server\library\materialIcons
oa tab called 'projectIcons' pointing to \server\ourProject\projectIcons